Hello!
Tutorial on making your own charms using shrink plastic :D
( I DO NOT sell shrink plastic )
I've been wanting to share this tips & techniques with everyone.
Making your own shrink plastic charms!
Things Needed :
Shrink plastic
Permanent Marker
Wooden board
Plier
Small Rings
Knife
Cooking Oven
Acrylic Clear Spray
*
1. Get things ready.
Personally I prefer to use wooden board & knife.

*
2. Draw your designs on the shrink plastic using permanent marker.
Personally I wouldn't recommend using Sharpie. It tends to smear.
I use Steadtler Permanent Artline instead.
You need to make it big, because it will shrink!


*
3. Put it in the oven!
Don't put too many at once, it will be hard to pick them up once they are ready.

Setting :
Whole + 150 °C


It will probably take about 3-5 minutes,
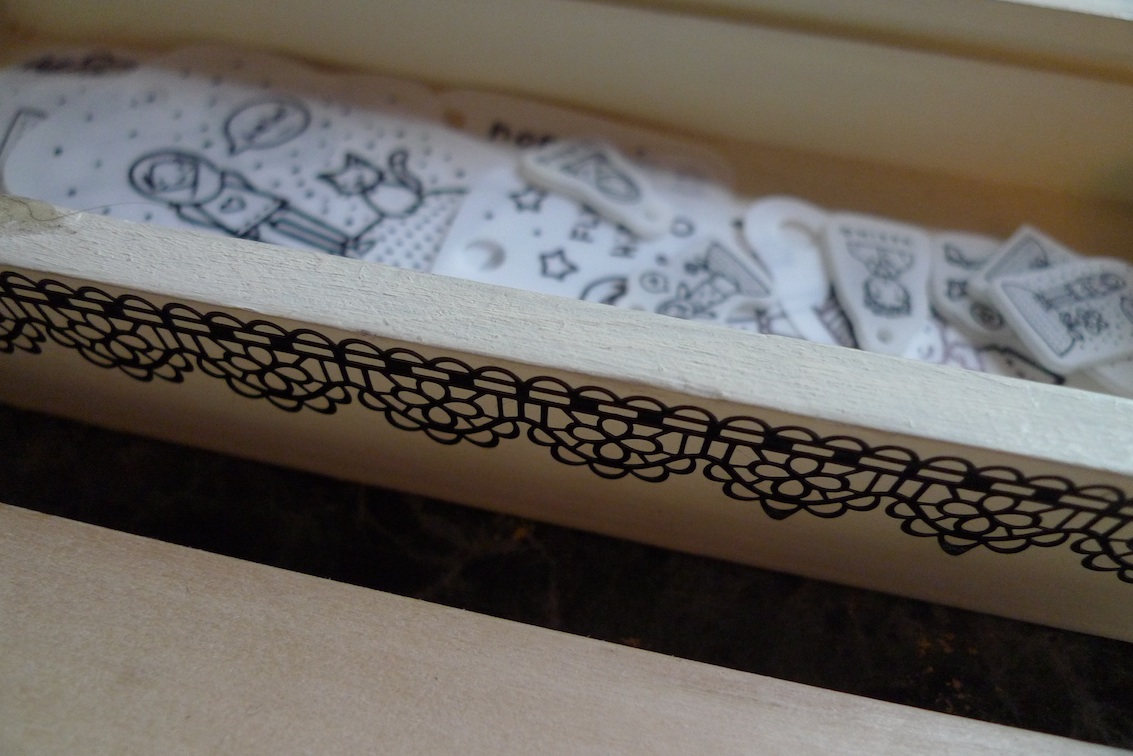
and they will be like this! :

You will need to wait until it finished shrinking.
*
4. Pick it up slowly using knife, or scissor.
The fussy part is it may be a little crooked if you put too much force.
So pick it up super slooowly.

*
5. Put on the flat board as fast as possible.
You need to flatten it up when it still soft.
Do it on one go to avoid it getting smeared.


My super skinny hand.
*
Tada!


*
So be extra patient,
I've done hundreds of this, one by one.

*
6. Spray it using clear acrylic spray.
*
7. Put a ring using plier.


*
And your charm will be ready!
*
Try it!
It may take several attempts to learn tids & bits of it.
It's not really hard, but it is a little fussy, yes.
*
Quality :
I still keep the first batch of my shrink plastic attempt *from 6 months ago,
it is still nice, not smeared or dull.
So it depends on the use of it. I put it as a charm on my Instax.
*


