Image Slider

Showing posts with label travel tips. Show all posts

Osaka - Kyoto 2 : The Tourist Passes

March 17, 2017

In this trip, we played tourist - I wanted my family to experience everything Osaka & Kyoto got to offer without thinking too much about the money - because Japan can be a bit expensive if you don't plan it properly. So by the time we reached the airport that morning, I searched for a tourist information center to choose which passes we might need in our trip. It was a long discussion in a long queue, and my siblings gave me the power to decide on which passes to buy. So we bought this passes in the first week when we arrived :


Osaka Amazing Pass ( 2 days - 3,000 yen ) Where to buy ? *****
The pass to go to all the visitor's attraction in Osaka and the train/subway rides. It was a value for money, thank God we bought it because we didn't have to pay most of the ticket fees afterwards. By the second day pass usage, we already almost finish up all the listed places, we tried everything they offered because we already paid the super-discounted price. I urge you to buy this if you are exploring Osaka. We went to the castle, to the Tsutenkaku Tower, twice on different ferris wheel ride, awesome museums, discounted huge Kaiyukan aquarium, the zoo, etc. Too bad we didn't have more time for a cruise ride - I think that's the only thing we missed from the guide book. 

Kansai Thru Pass ( 2 days - 4,000 yen )  Where to buy ? **
A pass to use all the train, subways and buses in Kansai (Osaka - Kyoto - Nara - Hyogo - Wakayama - Shiga ). You'll get a guide book, map and coupons. But we just went to Kyoto twice, because we didn't cover most of the Kyoto parts we wanted on the first day. If I knew we didn't have time to explore the other part of Kansai, I would have bought the Keihan 2-days Osaka-Kyoto pass for only 1,000yen.

*

After my family went back to Malaysia, we went to Nara without any passes and I spent over 1,600 for return train ticket (which was too expensive - almost 3 times more without any passes). So the day after, we searched for a tourist information center to buy more passes for our remaining days. We still wanted to go to Bampaku-koen, outskirt of Osaka and another one-time exploration in Kyoto. So we bought :

Osaka-Kyoto Sightseeing Pass ( 1 day - 700 yen ) ****
When you buy the pass, you'll get a book of coupons you can use. So you still need to pay to enter certain places but with discounted prices and free gifts. It is way cheaper than buying without any passes that might reach at least twice the price. We went to Kyoto again for the third time and it rained (ha-ha).

Osaka Unlimited Pass ( 1 day - 500 yen ) ***
We bought it because we wanted to visit our final spot and that is Bampakukinen-Koen where Expo' 70 is located. It was quite a long ride as well and without passes, it might be a bit pricy, so after we discussed with the lady at the tourist counter, we just bought the Osaka Unlimited Pass. But we had to add more fees afterwards because to go to Bampakukinen-koen, we need to change to a monorail that was not listed in the pass. This pass is useful if you want to travel in main parts in Osaka - not including any free passes, just discounted coupons.

*

So plan properly! They have a looooot of passes to offer, almost every major train line got their own passes that you can buy from. If you are planning on a 1-week trip, for example : maybe you can allocate 2 days for Osaka, 2 days for Kyoto, 1 day for USJ and 1 day for Nara. So for every day you want to explore on certain area, you can buy the passes to get a great discounted price. What you can do is allocate at least 10,000 yen for all the passes to buy at the airport when you arrive there - make an initial plan beforehand and show to the tourist center people, ask for their opinion and choose wisely :D

Note : We didn't go to USJ as my brother and Aja wanted because I'm not so much of a theme-park person. So they probably sulking over it because I managed to drag them along to the huge Kaiyukan Aquarium and Tennoji Zoo, but not USJ :D But I tried soooo much to keep everything under budget and tried not to make any of the family members feel like they are on a tight money budgeting because some of them only brought RM 500 to spend in Japan la weyy =.= How to survive that. 

Travel Tips : Backpack + What I Bring to Japan for 7 days Trip

September 09, 2015


*

The best birthday present I received from my brother was a proper backpack and 40 Euro *for a cancelled Euro Trip. Before the backpack, I used to use a typical formal school bag and totebags for my  little travel for years before really use a proper backpack for travel. For that, I am still very-very-very thankful for the gift. 

There are many types of bag that you can use, all depends on your taste and usability.

Some people like a small-simple one, some people can go with large and bulky one. Mine is just nice, fitted in a regular size Asian's body. It can be a bit heavy at times, especially during several hours walk. There are some tips and tricks to buy a good backpack that you can check on websites/travel blogs and even infographics in Pinterest. I'm not really good in this matter, so I pass it on to those professional backpackers of the world.

For me, a medium size travel backpack, with a lot of compartment should be enough. As a cheapskate escapist I never really go to new places to buy things *Ma couldn't agree on this. So I don't really need more spaces for things that I will buy. It all depends on each person. Before the travel backpack, I went to Bandung, Singapore, and Pangkor using those normal school bag, so it is actually possible to use any kind of bag. No worries about that :)  

*

Things I put in the backpack for 7 days trip :
  • 3 blouses + 1 tshirt + 1 singlet
  • 1 multi-use black pants
  • Inner wears + 2 socks
  • Toiletries
  • 1 Converse
  • Telekung
  • Foods ( Milo + Maggi + Tuna )
  • Adaptor, chargers, wires
Not including the things I wear a blouse, a jeans, a cardigan over the top and a sandal on the flight. Also things in my hand carry bag

Travel Tips : Long Flights

September 08, 2015

I hate long flights. 
It took around 10 hours flights to take me from Malaysia to Istanbul, or Fukuoka, or Jeddah. Sometimes it went well, sometimes it didn't. There were many bad experiences than a good one. Sleepless travel, annoying neighbour, sudden anxiety attack, or uncomfortable small seats. Although I'm hardly cranky, long flights always-always-always make me uncomfortable and annoyed.

I rather sleep the whole time, but I'm not really a day-sleeper. So it's easy to sleep the rest of the flight during night, but it's quite hard to sleep during daylight.

Here are things that you should bring during a long flight *especially if you bought tickets from Airasia and they make you pay for anything extra - even if you just want a blanket, it's not complimentary guys, you need to add RM 31 to borrow one from them =.=


  • Neck pillow - to avoid neck cramps, you can buy affordable neck pillow. It is still a bit weird to sleep in a semi-sitting position, but hey, you get what you pay for. 
  • Mini blanket - a must! It can get cold sometimes, and for some people like me, I don't really enjoy being too cold. I'll bring my mini blanket to places, even to watch a movie sometimes. That one time I took a flight from Bandung, I caught fever on the way back home and that several hours in the plane was the worst coldness I've ever encountered in a plane.
  • Socks - Ditto this. Just wear a sandal during a long flight journey, so it's easy to sleep in fetal position if you are small enough, and wear a sock if it gets too cold. 
  • Book - If you have a e-book device, bring one. If you don't, bring one book that you will definitely read. 
  • Snacks - Small biscuits, mint fresh or chocolates might help.  
  • Toiletries - You will find this useful when you want to freshen-up after the long flight. But remember that you can't bring any liquid stuffs in bottles. There is a size limit for that, Asia : 100ml *and must keep in zip seal bag. You can try mini-paste like container to keep one-time facial wash. Also don't forget to bring oil blotter, hand wipes, tissues, tooth brush and lip balm.
*

Have a safe journey!

Travel Tips : Ziploc Bag

September 07, 2015
*


*

One of the most useful thing you should bring during your travel is a zip-seal bag, or famously known as Ziploc *it's a brand, but I got used to calling it as "ziploc bag". It is a plastic bag with a zipper like entry that is used for storing things or foods.

I usually hate bulky packaging because it will take too much space in the bag-pack. So what I do is take out everything from its original packaging *especially if you buy things in those promotional package, put it in the ziploc bag, and compress it by letting the air out. It saves a lot of space !

Why I like it so much ? :
  • It can be used for anything
  • It saves space in the bag
  • It is wrapped in plastic, so my bag-pack is save from any toiletries' spills
  • It can be used to keep documents & passport from getting wet
  • It can be used to keep sandwiches/fruits when we don't have any proper food container
  • It can be used to keep dirty slipper/clothes

*

So if you are planning on short escapism to places, you should buy a zip-seal bag beforehand. It might be handy. You can buy a cheap box of 50 bags at Mr. DIY for less than RM 5, or find it in Tesco.

You can keep toiletries in one bag, Milo packs in one bag, food packs like useful instant nasi goreng's perencah in one bag, little towels, slippers, extra backup documents and such. Be a bit organized, it can give you a lot of extra space in your bagpack.

:)

Travel : Renew Passport

October 27, 2012

Hello !

My passport will expire on April 2013, so for my next trip this December, I had to renew it. Everyone knows that applying for a passport or renewing one will take time. I don't even like the process myself. There was a time when I was 13, I remember taking a number in the morning and went back home, later that afternoon, I went back to wait for my turn. It was a really slow process. 

So few weeks back, I Googled for online renewal application and found out that someone use this : MyIMMS - eservice. It is not widely known, I just found out about it. So I read the requirement and process slowly and decided to use this way. 

*

1) On picture
My brother and I went to take a passport photo, little did we know that we should probably take our own photo at home because the specifications for the photo were some basic rules any graphic based student can easily achieve. Actually I was not satisfied with the amateur photographer aka salesperson at the photo shop that took our photo :
1) She used built-in flash on basic cheap digital camera 
2) She edited my picture using God-knows-what resulting my face looked like I used 1-inch foundation : she just blurred the picture out , and I looked tan. 
So I feel cheated.

See, blurred picture.

*
2 ) On application
Requirement : Passport photo & Debit/Credit Card
I filled in the form here and uploaded my picture. I tried to upload my pictures many times because every time I crop it, it will automatically stretch my face a little bit. I hate my distorted face : even though it is not really obvious, I still know a distorted picture when I see one. 
Anyhoo, I applied for 5 years passport - RM 300 and my brother applied for 2 years passport - RM 100 , paid using my Maybank debit card and printed the receipt. 

*

3 ) On Jabatan Imigresen Malaysia
Requirement : The printed receipt & Old passport
I went there on Tuesday afternoon and asked someone from the counter on the process. She said I should take a number. So, after I took a number and waited for 1/2 hour, I decided to come again the next day because I was in a hurry. On the second day, very early in the morning, I went back and gave my yesterday's number, she took my new shiny passport and I gave her my digital thumbprints and there ! Exactly 5 minutes time. I am serious. My mom didn't even finished replying her text message.

PS : Try to take a look at everyone serving at counters, they ALL looked the same ! 7 counters,  20-ish women, wearing the exact same outfit, wearing spectacles, and almost the same height and face! :D 

*

Here to my next 5 years travel time :


Travel : Bag & Things I Bring

August 08, 2012
*

Hello!

When I go to places, it is important for me to bring proper bag. Not too large or heavy, not too small or packed. It is safest and convenient for me to use sling bag. Why?

1. Position.
You can put your sling bag upfront, if you feel insecure with your surrounding, or at your side, or even sling it to your backside. You can also sling it across your body, so it is hard for people to snatch it from you. 

2. Size
It is not too big, not too small. 
As long as I can put my books or water bottle in there.

3. Fabric
I hate PVC, or fake leather. They don't last long. Once, I bought fake leather sling bag and it lasted for only 2 weeks before it started to peel off. 
So, it's either leather, or fabric. 

*

So, things that I bring while on the road :


I am not much of a girly type, so I don't wear make-ups. It saves a lot of space too. 
There will be : 

*must bring camera LX3, 
iPod - in case I got super bored along the way,
small sketch book, mechanical pencil & eraser,
money & card case,
little coin purse,
current book,
2 of my favorite lipbalm *cherry & vanilla,
oil control film - for my oily skin,
and my handsome tin soldier.

PS :
Tin soldier travelled to a lot of places with me 

*

Don't forget to enter this latest gift-away
I got 10 sketches to be shared with YOU.

Travel : Cameron Highland 2

May 22, 2012


Advises to Share from this Journey :

1. Bring a lot of socks if you plan to walk a LOT. 
You should change your socks daily. One pair of socks = One day. And extra another one pair of socks for nightwear when you go to sleep because it can be a little cold up there.  

2. Bring a bottle of water while trekking
Especially when you go to Mossy Forest or walk up to the top of Brinchang Mountain. We cheated, we took a car ride up to the top of the mountain :D

3. Bring thick sweater
For small person like me, my fats weren't enough to keep me warm at night because it was so cold! But it is quite warm in daylight.

4. Some farms are closed on Tuesday
And some farms are closed on any random days except on weekend :(

5. Must go places :
Mossy Forest
Strawberry Farm
Rose Centre
Boh Plantation

6. Wear shoes
If you plan to walk a lot, then wear shoes or at least comfortable sandals. Slippers is not recommended *for no specific reason, I don't really like slippers.

7. Robinson Waterfalls is literally dead
Although it is still listed in the Cameron Highlands map as one of the place to visit, I think it is not really a place to enjoy anymore.

8. Get ready for hours of dizzy road ride
I didn't enjoy those time while we were going up and down the hill. I was a little dizzy and tired *even though I was only a passenger, imagine being the one who drives the car.

9. Plan Ahead
You should buy the map they sell at the hotel or any farms. I think it is RM 4.90, if I was not mistaken. You can get the whole list, contacts of the places to visit. Useful item.

*


My Travel Memory

November 19, 2011

Hello,
Let me share my visual travel memory and some little things 
that I've collected over these few years.


*

Singapore 
2010


Those are some stickers, 
tickets, postcards,
rubber stamp *quite expensive (>.<)"
and
photo booth's pictures.

*

Melaka 
2010 & 2011
Took the pictures at the same place, but different years.


 *

Pipit 8th 


Those are MiniFanFan's postcards, 
Pipit's sticker pass,
Zamzammee's phone strap, 
Charms : Bird & clock,
My previous wooden magnet,
Individualism badges, 
Wooden camera phone strap, 
another phone straps by my little friends.
Hope to spend time at Pipit again in future!

*

Bandung 2011


 *

Melaka & Concerts
2012

It was Kak Mas's wedding and we took the opportunity to have our small trip around the old town. Those concert tickets were David Choi's - twice and Kina Grannis ! Both my favorite youtube artists. 


*

Cameron Highlands
2012

It was supposed to be work. We were working on Tourism Pahang website. 
So my team and I went there to take lots of pictures.


*

Perhentian Island
2012

With my colleagues.


*

Melaka & My Raya
2012

Melaka again ! with my colleagues.
And photos for our first day of Raya at Johor.


*

Pipit 9th :
2012


Click to get a bigger view.

*


*

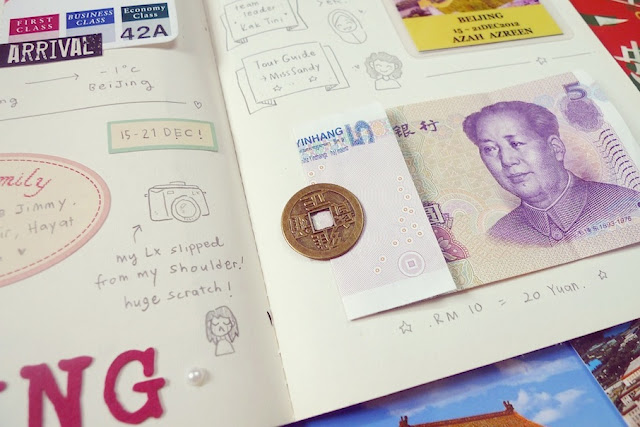
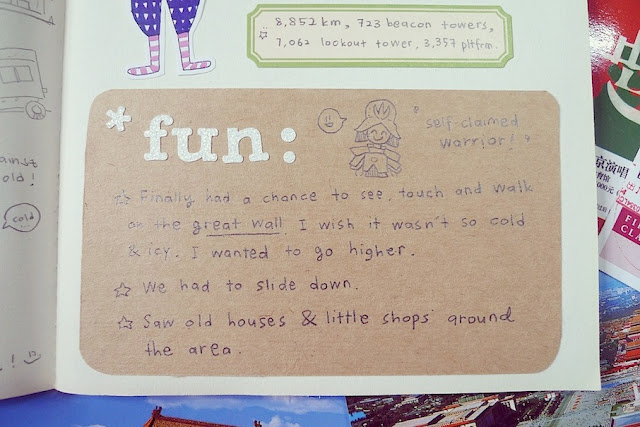
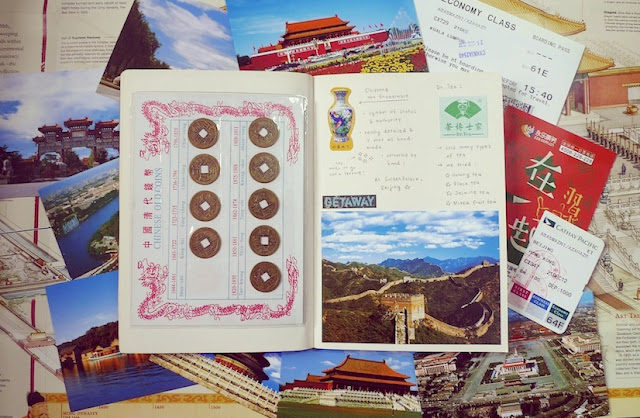
Beijing
2012
Page 1


*

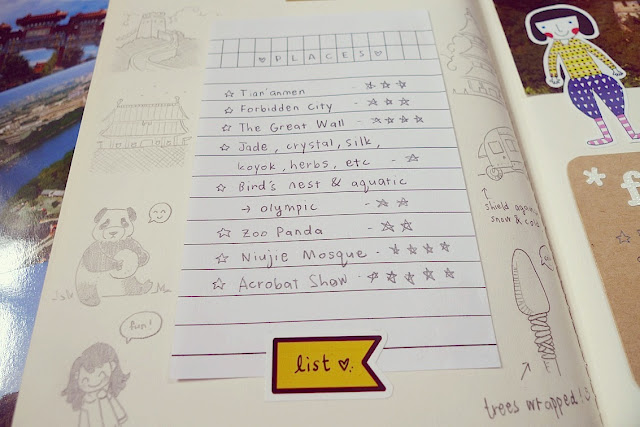
Beijing
Page 2


*

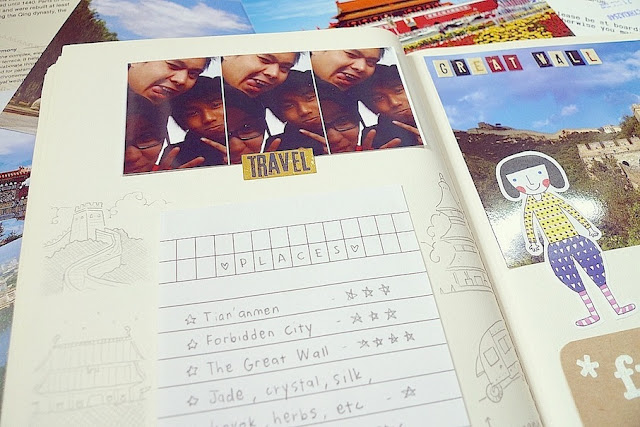
Beijing 
Page 3


*

Hope you enjoy it as much as I did :)